Home composting made easy
Home composting is a fantastic way of turning organic garden and household waste into fabulous food to turbo boost growth in your garden.
Composting is a slow, natural process that sees nature work in waste to break down organic material and turns it into a rich, dark soil conditioner that is full of nutrients. These nutrients are essential for helping plants and vegetables to grow.
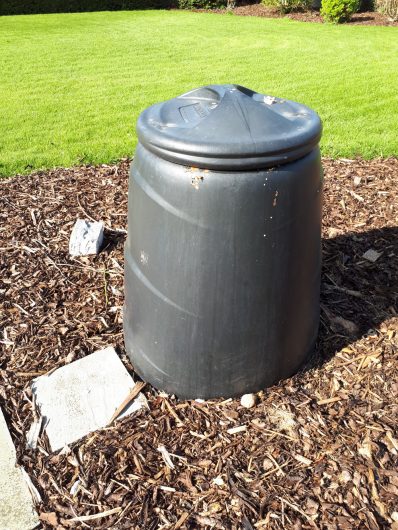
For successful home composting you’ll need to invest in a shop-bought compost bin or you can make your own.
If you’re handy at DIY, then I suggest you get your hands on some old pallets for the 4 sides and layer the bottom of your heap with old cardboard. Cover the top with an old carpet, mat or rug to insulate it and aid the composting process.
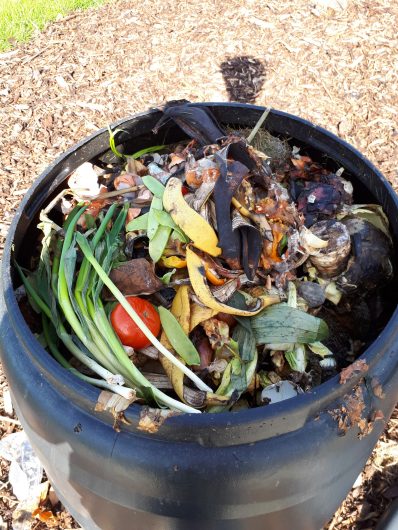
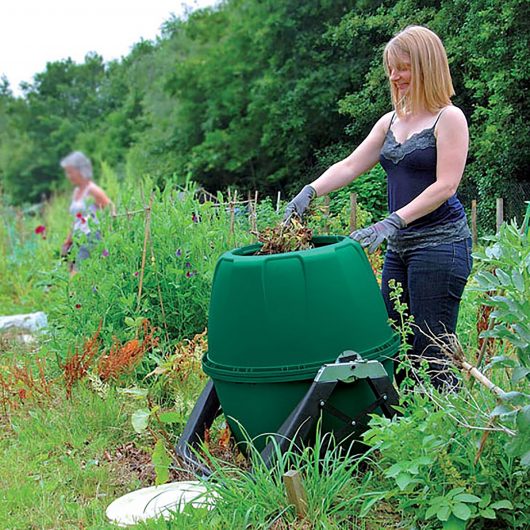
You should place your compost heap on open, bare soil or grass and somewhere which is easily accessible-even during bad weather.Familiarise yourself with what can and cannot be composted. You don’t want to contaminate your bin so learn what is compostable and what isn’t.
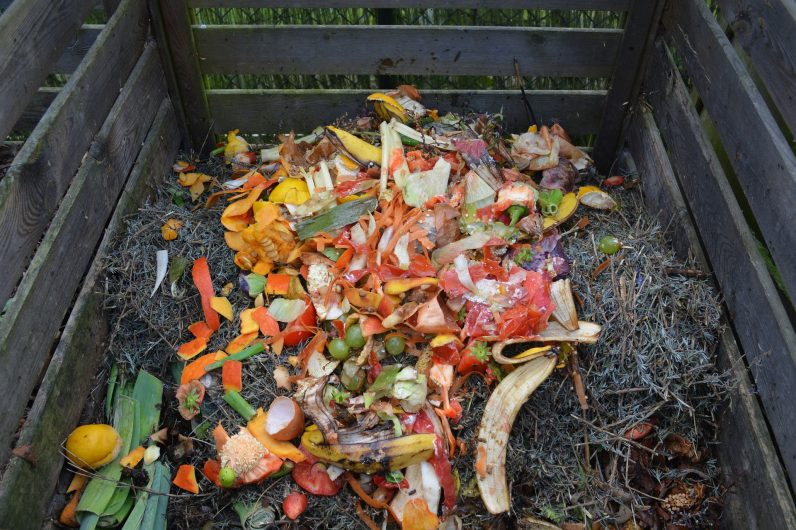
Generally all uncooked green waste is perfect. Nothing cooked and absolutely no meat should be added. Egg shells are grand but they should be smashed up as much as possible before they are deposited in your bin.
Harvest Time
Composting time varies and will depend on the frequency of mixing, the mixture of materials used and also on weather conditions. It can be ready in as little as a few months or may take as long as 12-24 months.
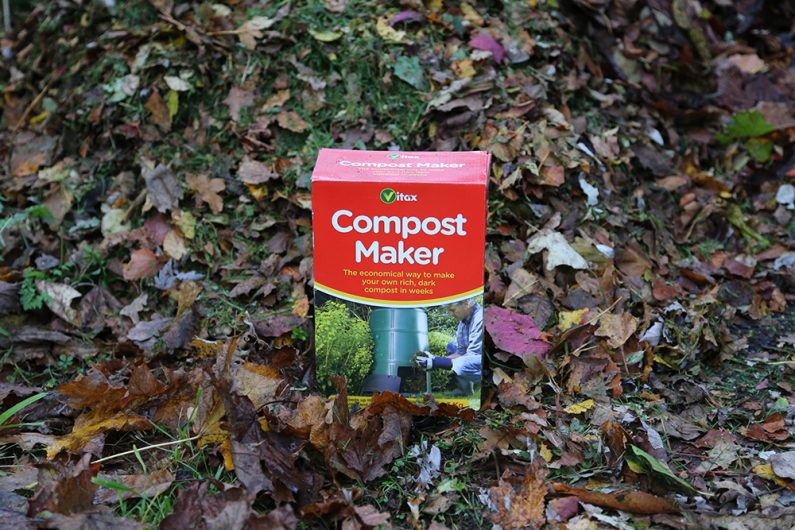
Aid the process by layering your heap with twigs, branches, grass cuttings, household green waste, tea bags, coffee grains and more. And if it looks like your compost heap needs a little help, add in some compost maker.
breakdown of organic garden and household material which may otherwise degrade slowly.
Teresa’s tips for good home composting:
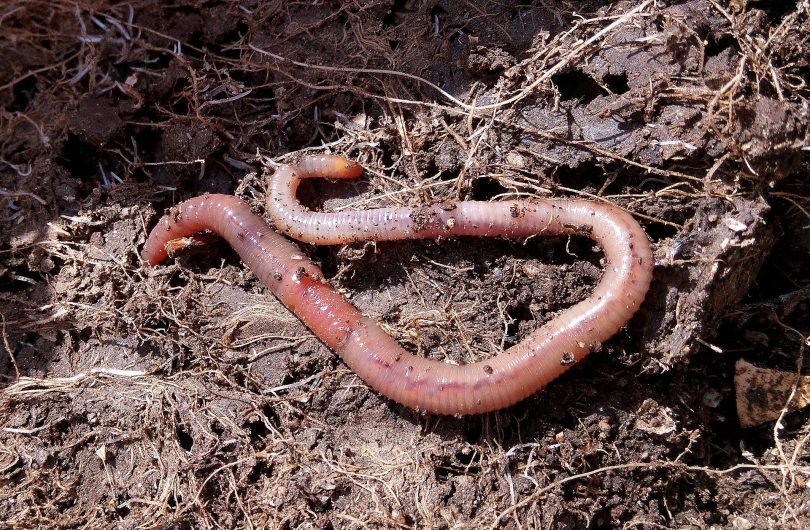
- Position your composter where it is accessible and is lying on bare soil or grass so there is easy access for earthworms who are an essential part of the composting process
- If there is a risk of vermin entering the heap in this way lay chicken wire across the ground underneath your composter
- Start off with woody materials first such as twigs, branches and cardboard. This allows air to circulate and worms to move
- Fill your composter in layers –mixing garden with household waste
- Whenever you add a food scrap layer, remember to always cover with a garden layer to prevent odours
- As compost shrinks you can continue to add and mix you organic waste until the composter is 80% full
- The composting process can take up to twelve months. However, it can be considerably quicker if you insulate the heap well and use material that breaks down quickly. Cutting up your brown waste as you add it to the compost heap really helps When the compost is of a dark rich crumbly appearance and texture it is generally ready for use.